The 5 Lb. propane tank seems to be the standard for “Overland” rigs everywhere. I got the go ahead from the boss to buy it because it was “cute.” Mine came from Manchester Tank, and it is in fact, kind of cute. My local propane supplier put nearly a gallon and a half in it from empty. That is less than expected but it should be plenty of gas for a jeep trip of several days. I suppose anymore they are only allowed to fill them to 80% capacity for safety reasons. The size of the tank allowed me to mount it neatly behind the driver’s side fender. Now, there are a lot of options for mounting brackets for these tanks. You can get some pretty slick billet aluminum jobs for over a hundred bucks. Even a run of the mill cheap-o mount is $60 bucks. I can’t pay more for the bracket than the tank cost. My dad’s scotch blood won’t allow it. Good thing I discovered Quick Fist clamps. I bought mine on etrailer.com and I saw them on Amazon as well.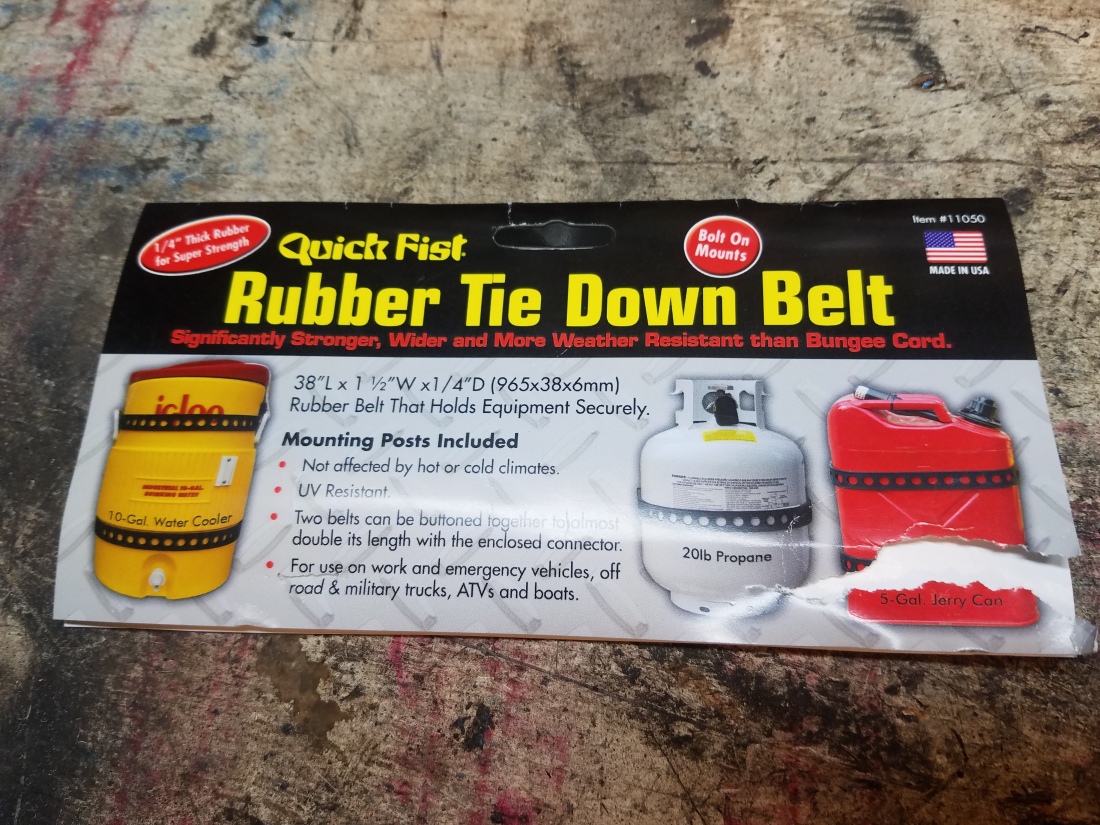 $10 got me the rubber strap kit that they claim is capable of holding a full jerry can. It comes with one 38″ strap, two mounting posts and a connector to combine two straps. One strap was long enough to cut in half for this application so I could go around the tank twice. I used the connector provided to fashion a second set of mounting posts. This setup seems very secure but I wanted a little something more to prevent the tank slipping out of it’s straps. I bolted a hook on the trailer that should hold it, and it aids in keeping the tank in place while fastening the rubber straps.
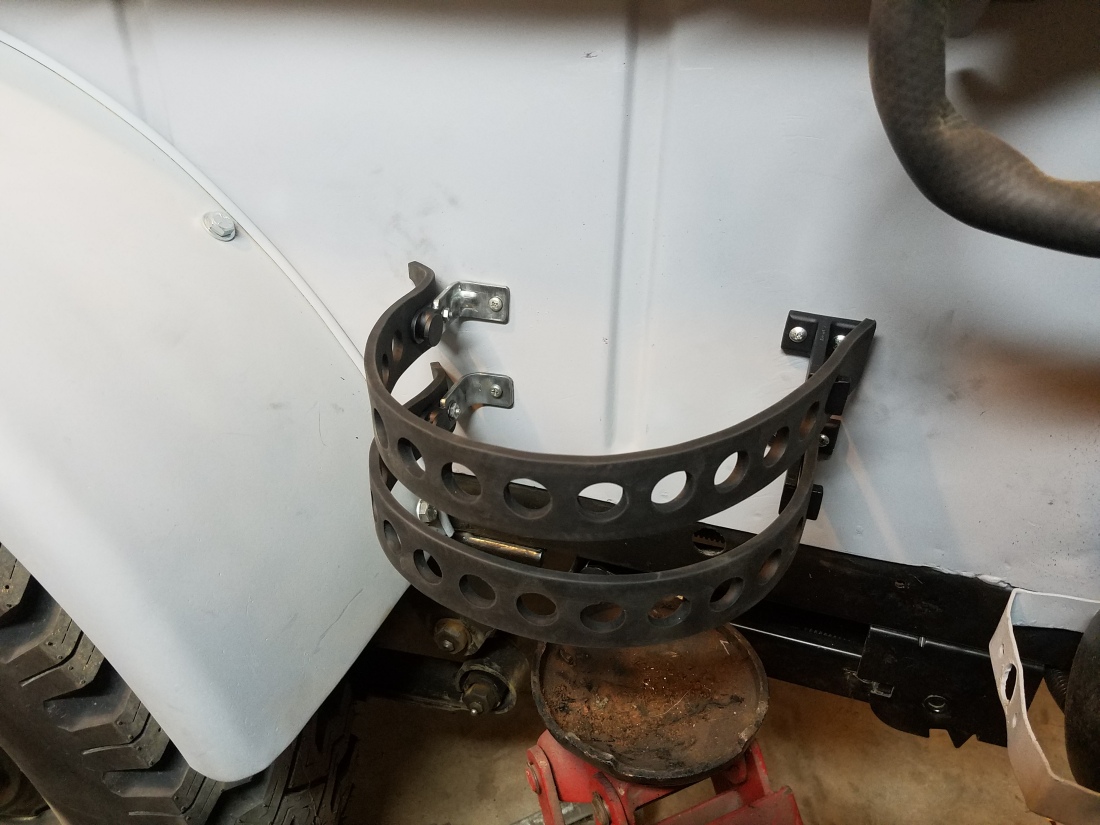


I put a piece of rubber garage door seal between the tank and the trailer wall to keep them from trading paint and it helps to keep it snug in the straps. This system seems pretty strong and solid but only days of bouncing along will tell for sure. I am collecting all the necessary brass pieces and hose to send propane to the stove, BBQ and water heater. More on that later.
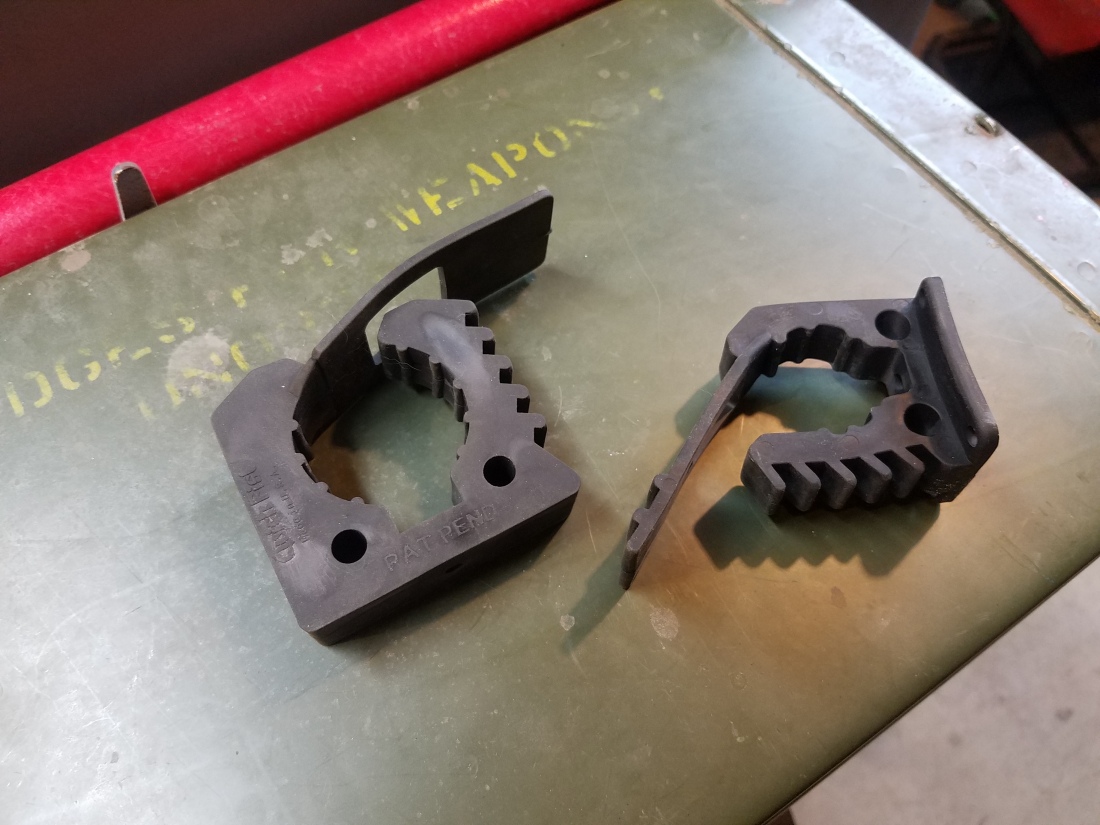
A trail trailer such as this would not be complete without some recovery tools. Our Jeep has no real good place to mount a full size shovel and axe. I have a Hi-Lift jack across the front bumper taking up space above the winch. The front of the trailer is a perfect spot for this stuff, and again…Quick Fist is the Frugal Four-Wheeler’s Friend. They make a ratchet style rubber clamp for just these types of situations. I bought two different sizes which worked well because both the shovel and axe handles are larger in diameter toward the business end and smaller at the tip. Under $10 bucks each.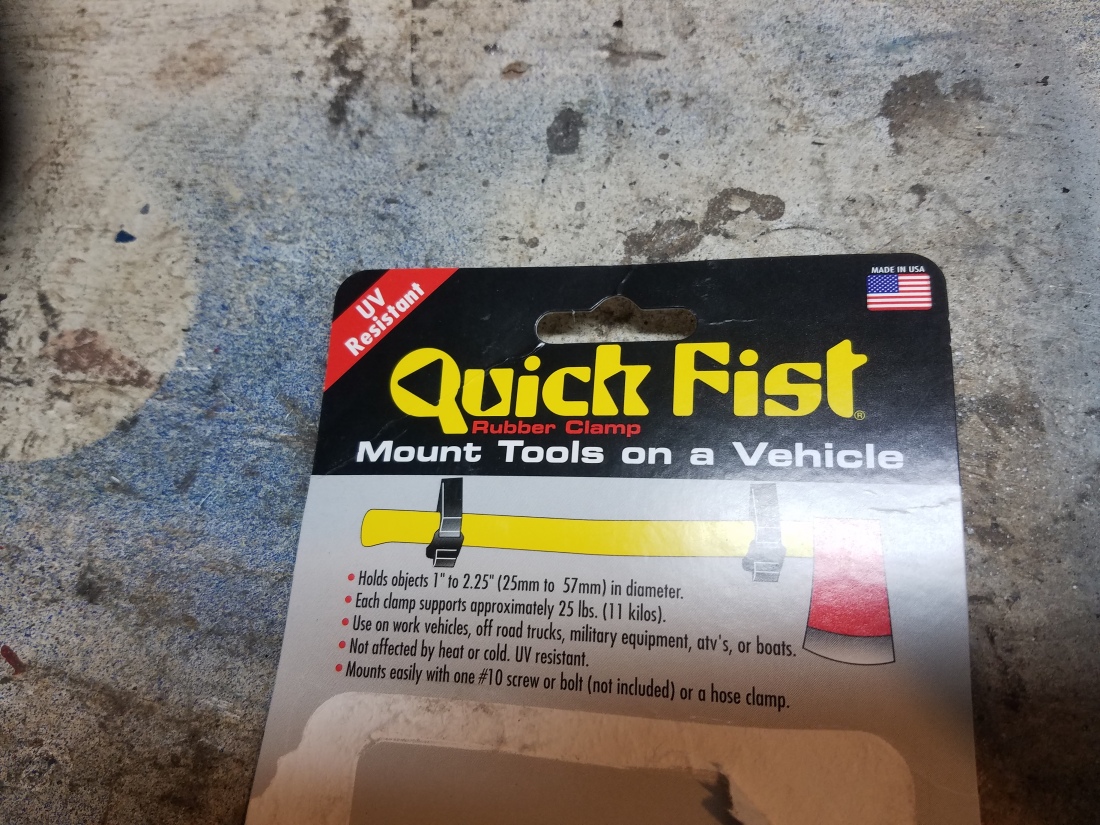
The axe head rests on part of the trailer tongue so the bulk of the weight is supported and the rubber clamps keep it in place. 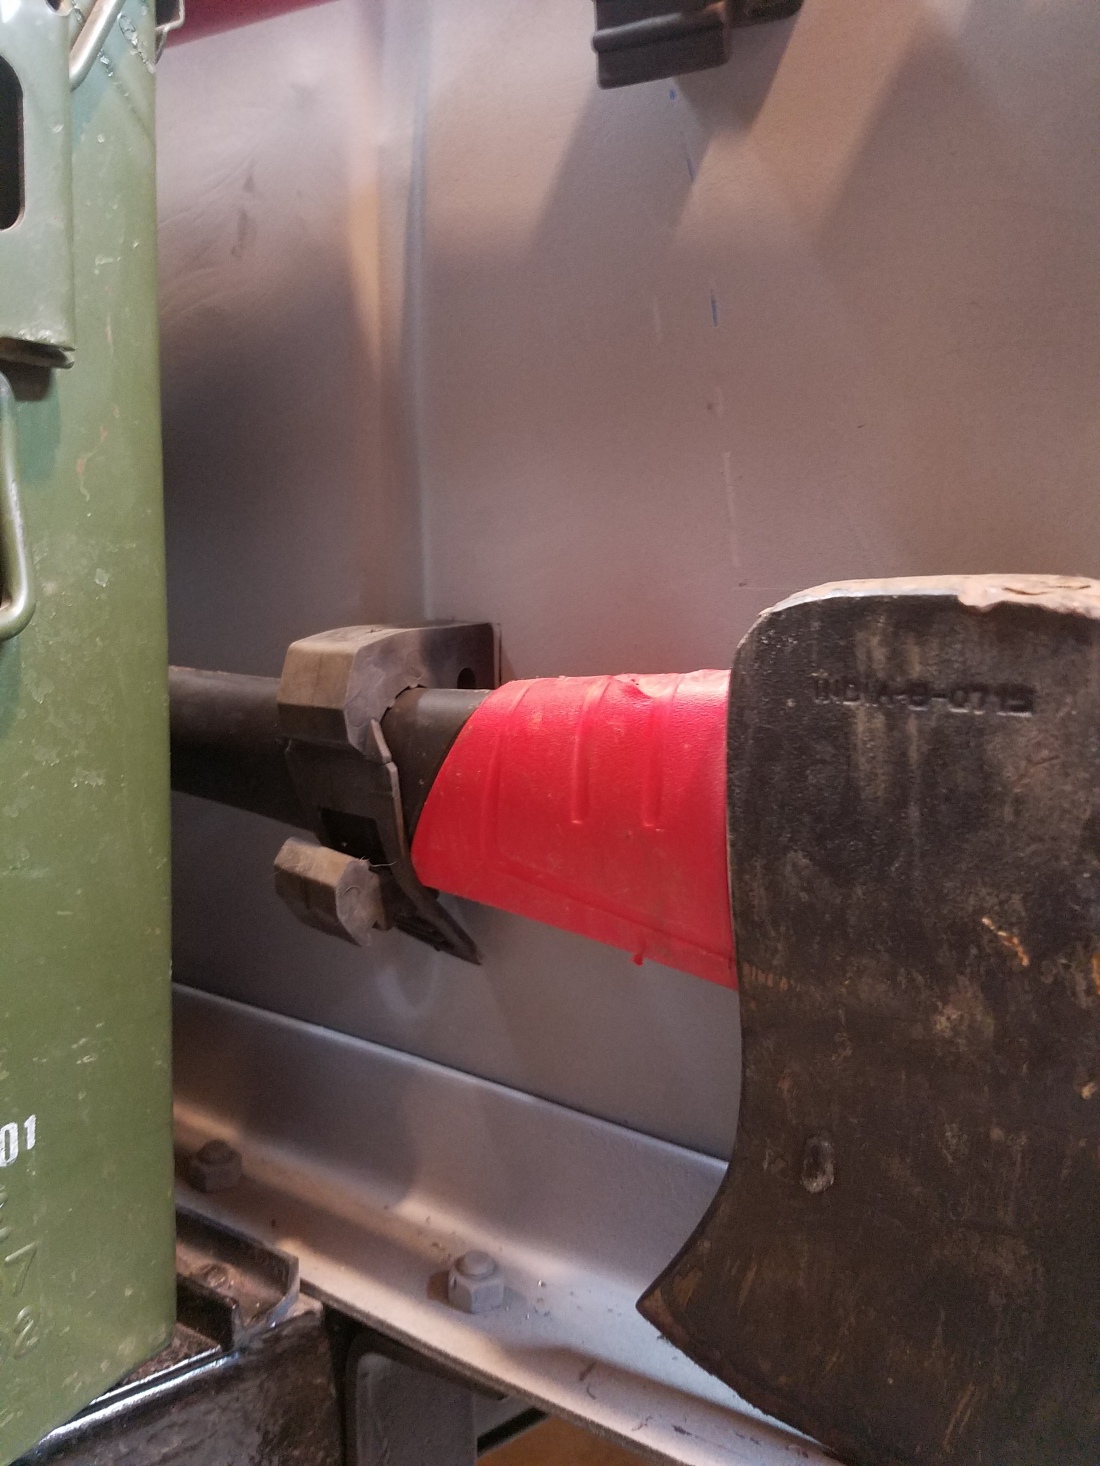
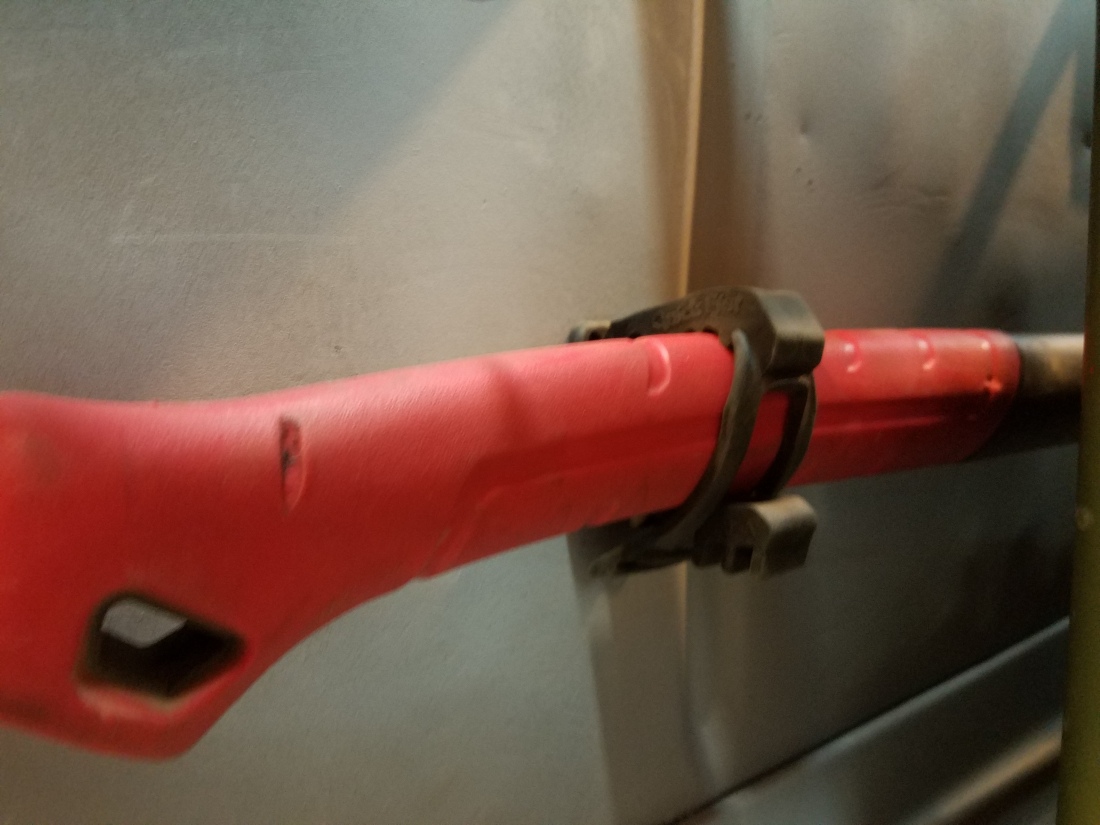
These old Bantam trailers came with several tie-down points. There’s one on the front of the trailer. I bent it out and created a sort of cradle for the shovel. This supports the weight and the rubber clamps, well, you get it.


The tools are easy to get to and easy to remove in case I need to dig a hole or cut down a tree. They are very secure. I will be completely sold if nothing falls off the trailer. The large ammo box shown in the pictures will eventually house the propane hot water heater/shower. 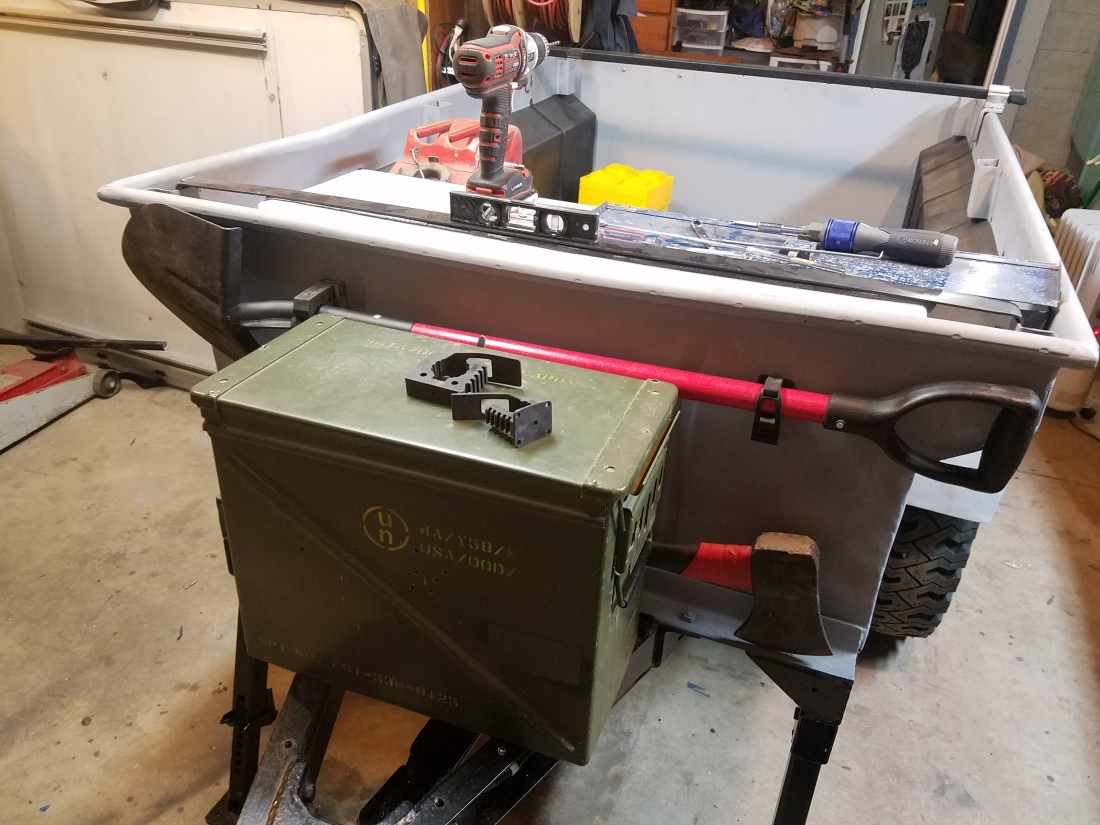

The tent. Maybe the most important component of this project. Certainly the most expensive (like more than I paid for the trailer it will sit on) . There are a staggering number of options in this area. I didn’t know much about these things before I started this project. Now what I know is, a guy could go nuts trying to pick one. Technically you can just pitch a tent on the ground like humans have done for eons. That is not nearly as cool as a roof top tent (RTT). Besides, who wants to search for a big flat spot for the tent. We can sleep comfortably in the middle of a lava field now. Other benefits include: Our bedding can stay in the tent. Very fast and easy set up. Durability (these tents are built pretty sturdy).
With durability and ease of use comes cost. You can spend more money on one of these tents than my first Jeep cost ($3200 in 1993). I did a lot of internet research. I read a lot of reviews. Here’s what I knew. I knew I wanted a 4-man tent. With tents, that really means it’s a 2 or 3 man but two of the mans in my party are skinny little kids. I knew I was not going to pay MSRP for a RTT. And, the bigger the tent, the bigger the price tag. I would look for a used one. I knew I didn’t want some goofy color, but with the used market, you can’t be too picky. I knew I wanted a tent that got some good reviews from the people that actually used them. I was resigned to making this the last piece of the puzzle unless a good deal came along on a good tent. We could, in fact, use the trailer without a RTT even if it meant having to find that flat spot on the ground.
Well, that deal came around. We found a used Mombasa 4-Man, advertised locally for about a grand less than a new one that size would cost. Mombasa, as a company, seems to ebb and flow in their production of RTT’s depending on demand. In my research I found a couple manufacturers like this. They have had several different websites. There have been several “generations” of their tent models. None of this really mattered. If the tent laid out on the ground in front of me was in decent shape, I’d take it. It had a nice tan and grey color scheme, all the zippers worked, nothing was missing and it had only a few small signs of wear and tear. The seller assured me it had kept them cozy in the driving wind and pouring rain and they enjoyed it until they upgraded to a big ‘ol Airstream trailer.
Many of these tents are carbon copies of the next one. Only slight changes differentiate one from another at this price point. Mombasas’ seemed to be fairly well rated. The base it’s constructed on is aluminum with insulation between two sheets. That’s a good thing. One bad review I found went like this: “Cons- The cover, the cover, the cover.” Well, the one negative about this used tent was the cover was in bad shape. Ripped at the seams and continuing to fall apart. I figured I could repair it or replace it. It’s a cover. It’s going to get thrashed. This particular tent would not include a mattress. The wife was very ok with this. Said she didn’t want to sleep on someone else’s mattress anyway.
The tent, when closed up, is almost exactly the dimensions of the trailer bed rail. This tent came with the roof rack bars that I would have to purchase separately if we got a new tent. These would work perfect. It was a good deal. We bought it. The previous owner had it mounted long ways across the bed of a full size pick-up. I had to rearrange the mounting rails, and cut down the roof rack bars to mount it long ways along the length of the trailer. It’s about 70″ long. It’s 48″ wide until it’s erected and then it’s twice that. This results in a 92″x69″ or 7 1/2′ by 5 3/4 sleeping area. Good thing we are all under 5 3/4′! 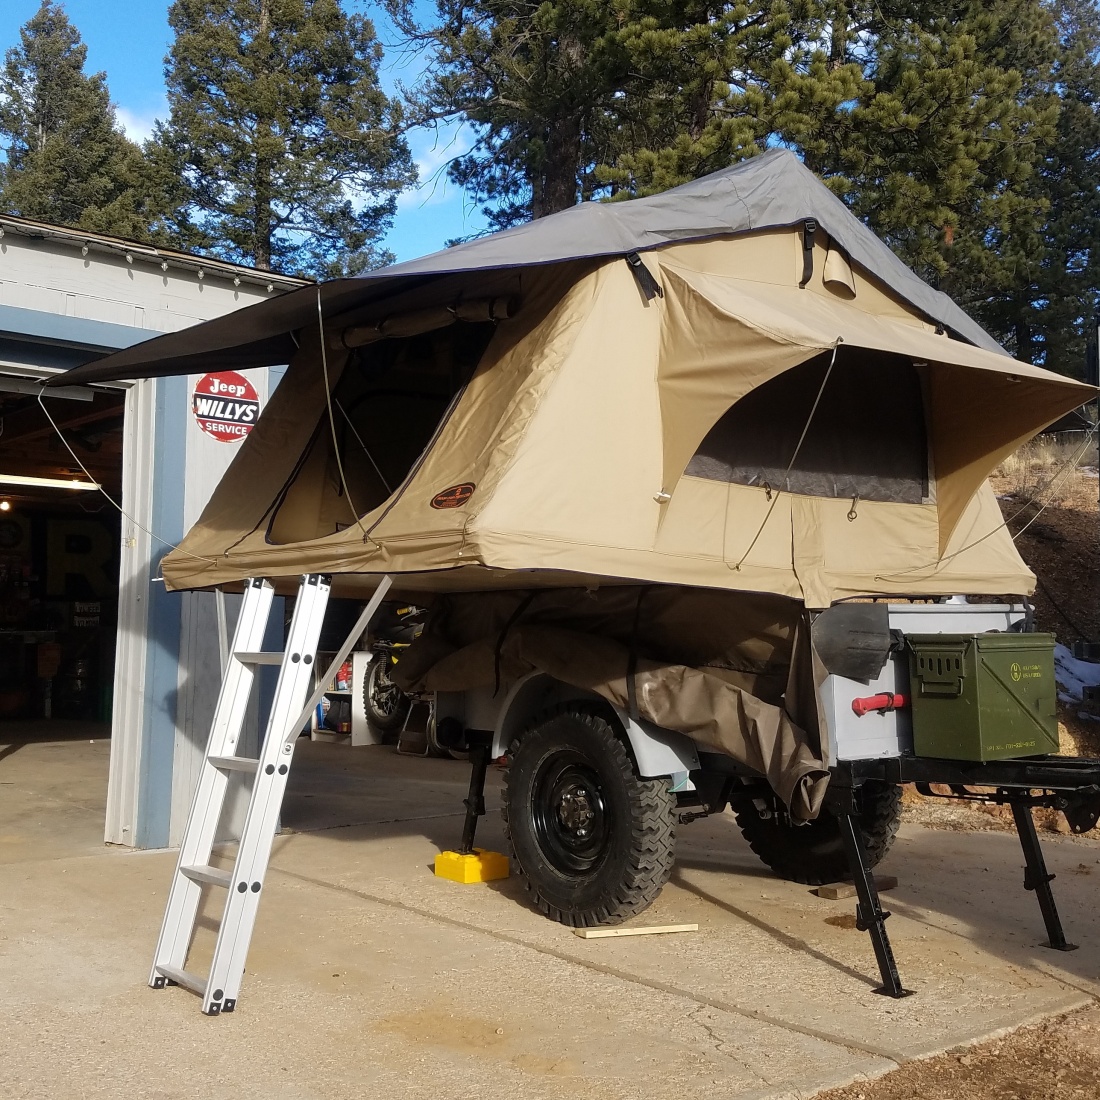
With the tent mounted, I towed the trailer out to set her up and see what we had. Very easy. Just pull the ladder out and it opens like a clam shell. In the open position, all the hinged aluminum poles are unfolded out in place and the tent is up. The overhang rests on the extendable ladder. One issue though. Since this RTT is not going on a RT (it’s much lower than that on top of the trailer) I needed to drill some more holes for the adjustment pins that hold the two parts together. The ladder is almost too long in it’s shortest adjustment.


The tent is symmetrical and can be mounted so the ladder is on either side. I chose passenger side because it seemed like the right thing to do. Because the opposite side has a door opening as well, my wife, in typical fashion, requested a slide be mounted there for exiting the tent. This is a woman who spends half her time in the ER (and no, she does not work there). Inside the tent, it’s sturdy and roomy and in terrific shape save for a little evidence of mildew. With big rips in the cover, you can’t avoid that. Wife will hit that with a bleach solution and I will fix or replace the cover. The rain fly is in good shape and seems user friendly. All in all, it’s a great tent and will serve us well.


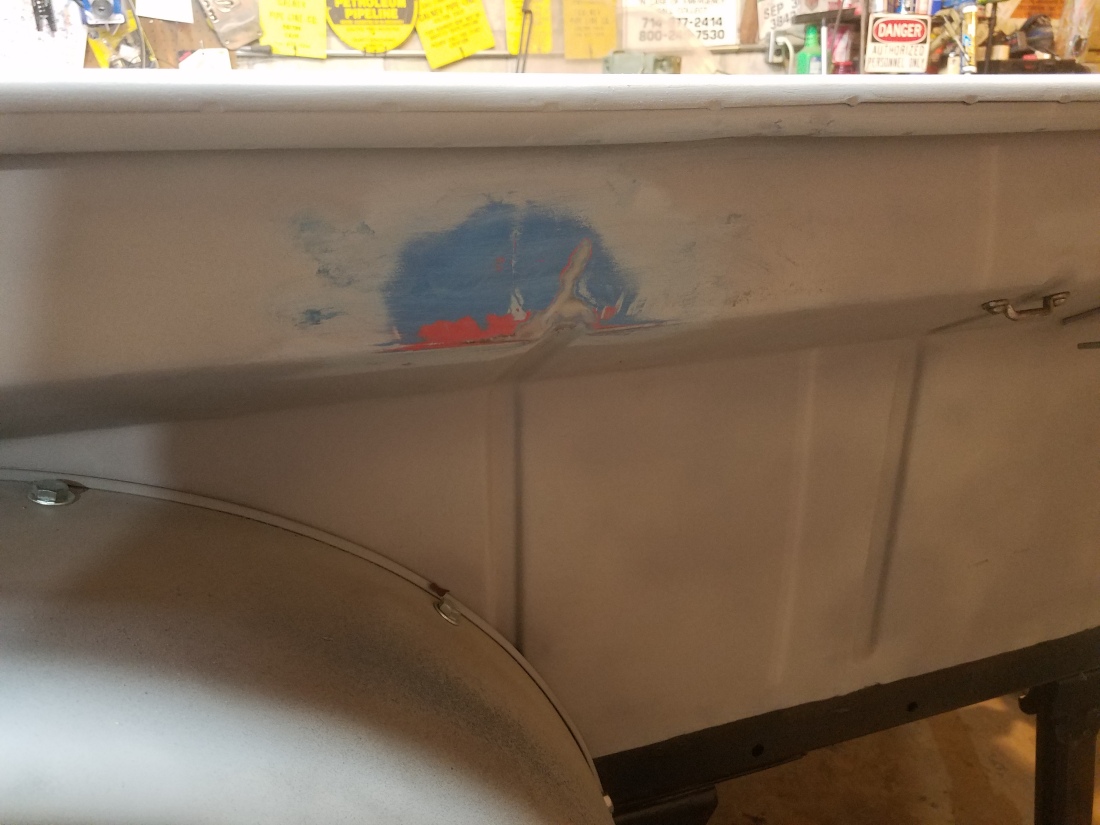
On a side note, the bed rail toward the front of the right side was slightly bent down. It’s noticeable in some pics, like this one. 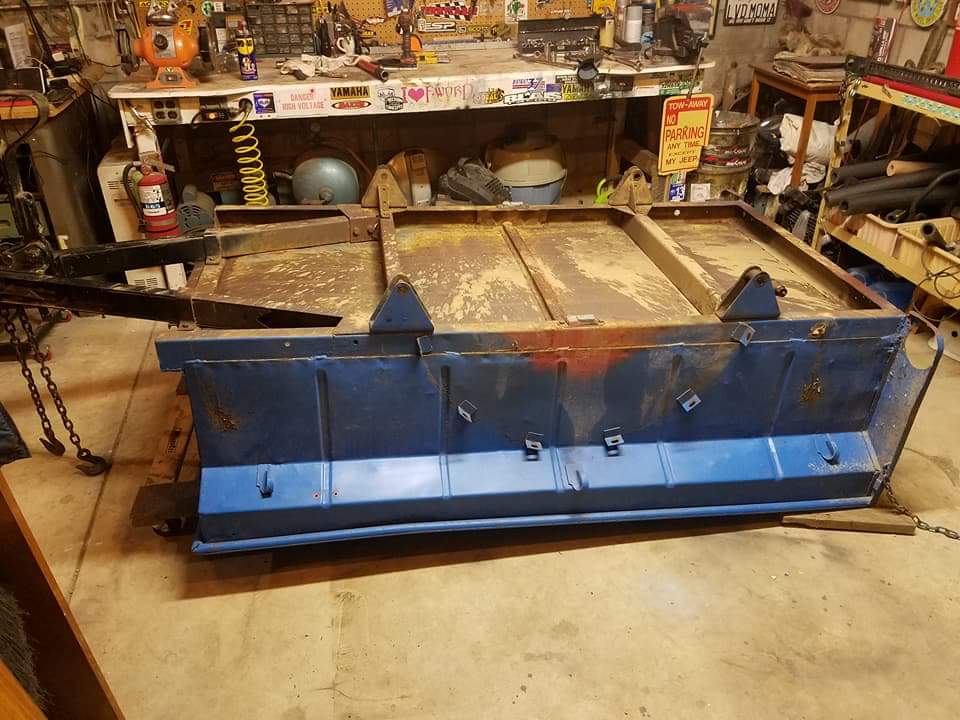
I tried to bend it back but I only made a little progress. I think years ago, someone tried to load a telephone pole in this thing and it got ugly. I devised a plan. I would use the floor jack to push the bent section upward. I just needed to prevent the trailer from moving up with the jack. I placed two 4′ lengths of 2×6 upright on either side of the bent area, up tight to the rafters in the garage. I had some assistance from my 14 year old boy who was in charge of steadying the 2×6’s until I had some tension on ’em. I put a piece of square tubing between the bottom of the rail at the bend and the jack. Then, I jacked. I could see that it was working. I had him watch the progress from afar so I could tell when all was straight. Then the jack rolled out of place, the 2×6’s lost tension and came crashing down. One of them right onto my left thumb and it earned me some xrays. Fortunately, no break. Just badly bruised. My kid never even moved a muscle to try to catch the falling 2×6’s. The good news is the rail is straight now. I warped the bed wall and cracked the primer and had to bang out the new dent and re-prep, but all is well.